Networking VMs in VirtualBox
We will need to make NAT configurations in VirtualBox to ensure that both our VMs have separate IP addresses.
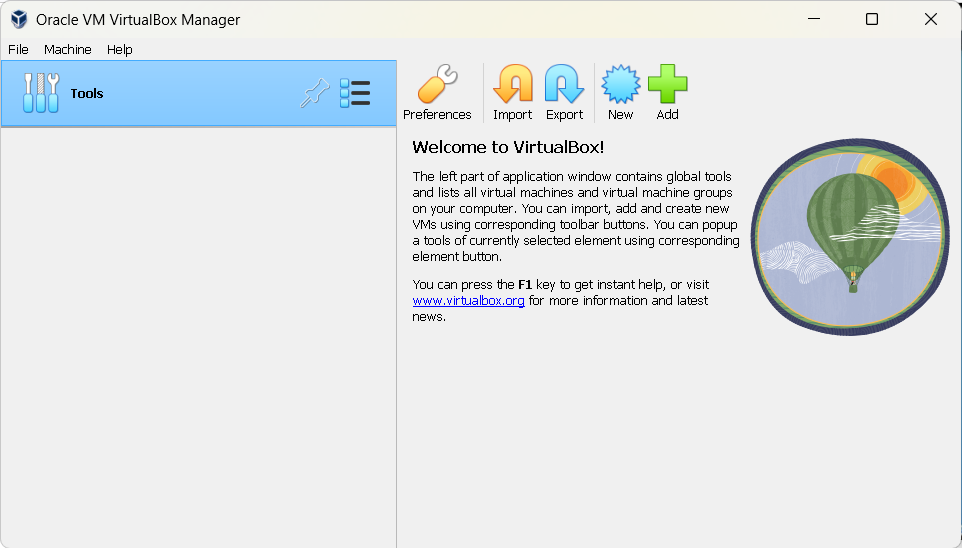
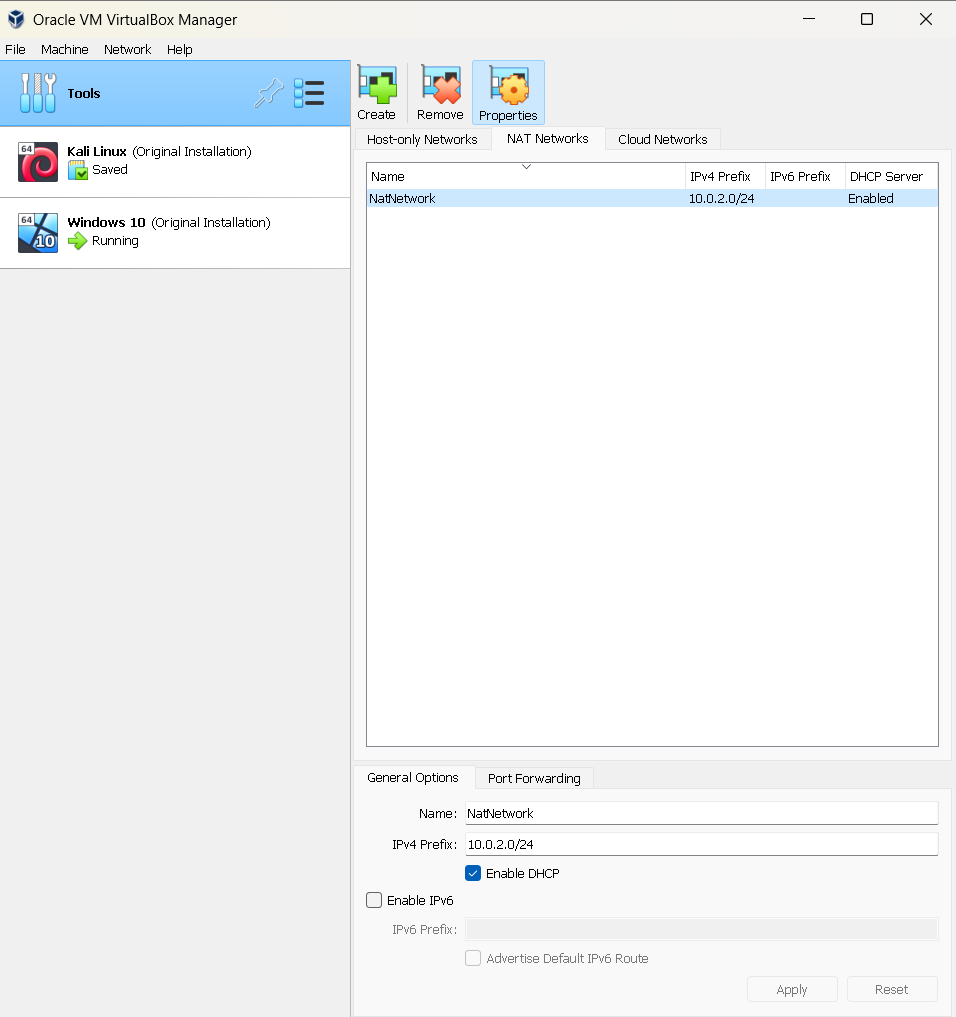
Right-click on the Tool section of the VirtualBox Manager, and select "Network".
Click on the "Nat Networks" tab and click the "Create" button.
Notice on the bottom of the application, you can change the name of your virtual NAT Network, and the IP Address IPv4 Prefix range available. For automatic assignments of IP Addresses to VMs in the "NatNetwork", it is best to select the "Enable DHCP" option.
The established internet connection will be fed from your Host Machine that the VirtualBox Manager runs on. As long as your Host Machine has an internet connection, your guest VMs will have an internet connection as well. However, alternative networking details may be provided by your local network administrator for your specific department classes / courses (and it is best to accept their advice in setting up your networking configuration if they have made alternative arrangements).
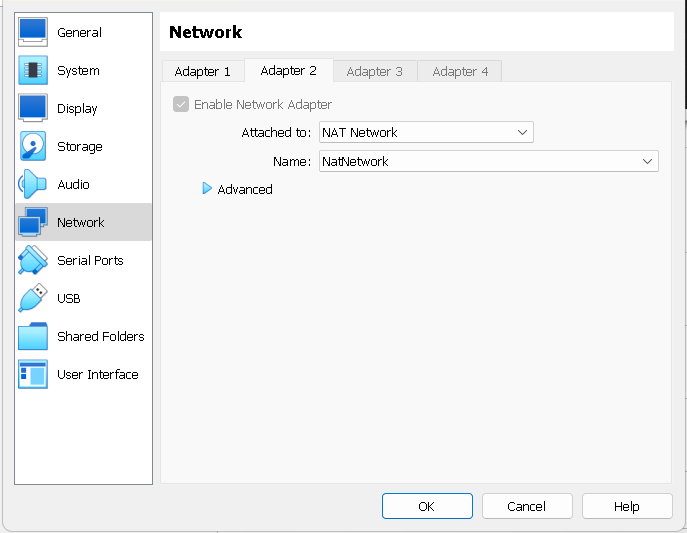
For each VM, click on Settings in tihe VirtualBox Manager, and click the "Network" tab. Change the default options of your Network Adapter, to "Assigned To: Nat Network", and "Name: NatNetwork (for this example, whatever name you chose earlier for your Network)".
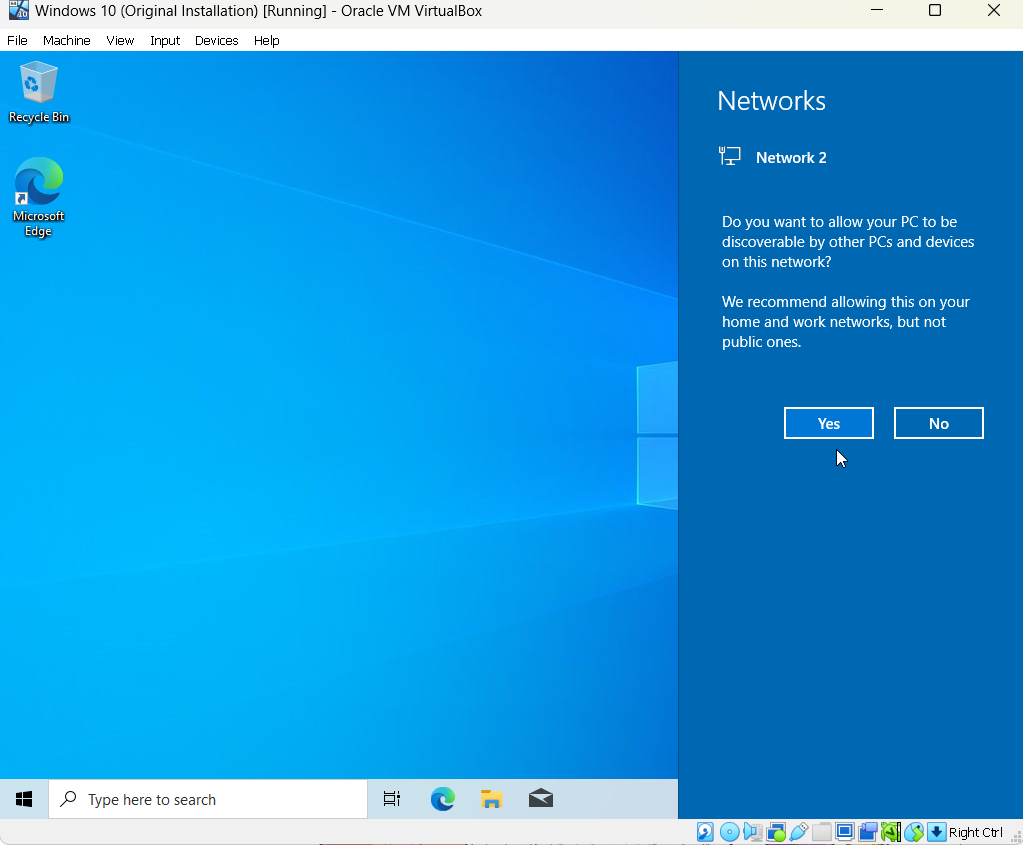
Make sure that your Windows OS VM is "discoverable" by other VMs on your network, such as Kali, so we can "ping" it successfully in a scan.
Restart both VMs for the Networking configurations to take effect. In the Windows VM, open the Command Prompt. In the Linux VM, open the Terminal.
For Command Prompt, type in:
ipconfig
For Linux Terminal, type in:
ifconfig
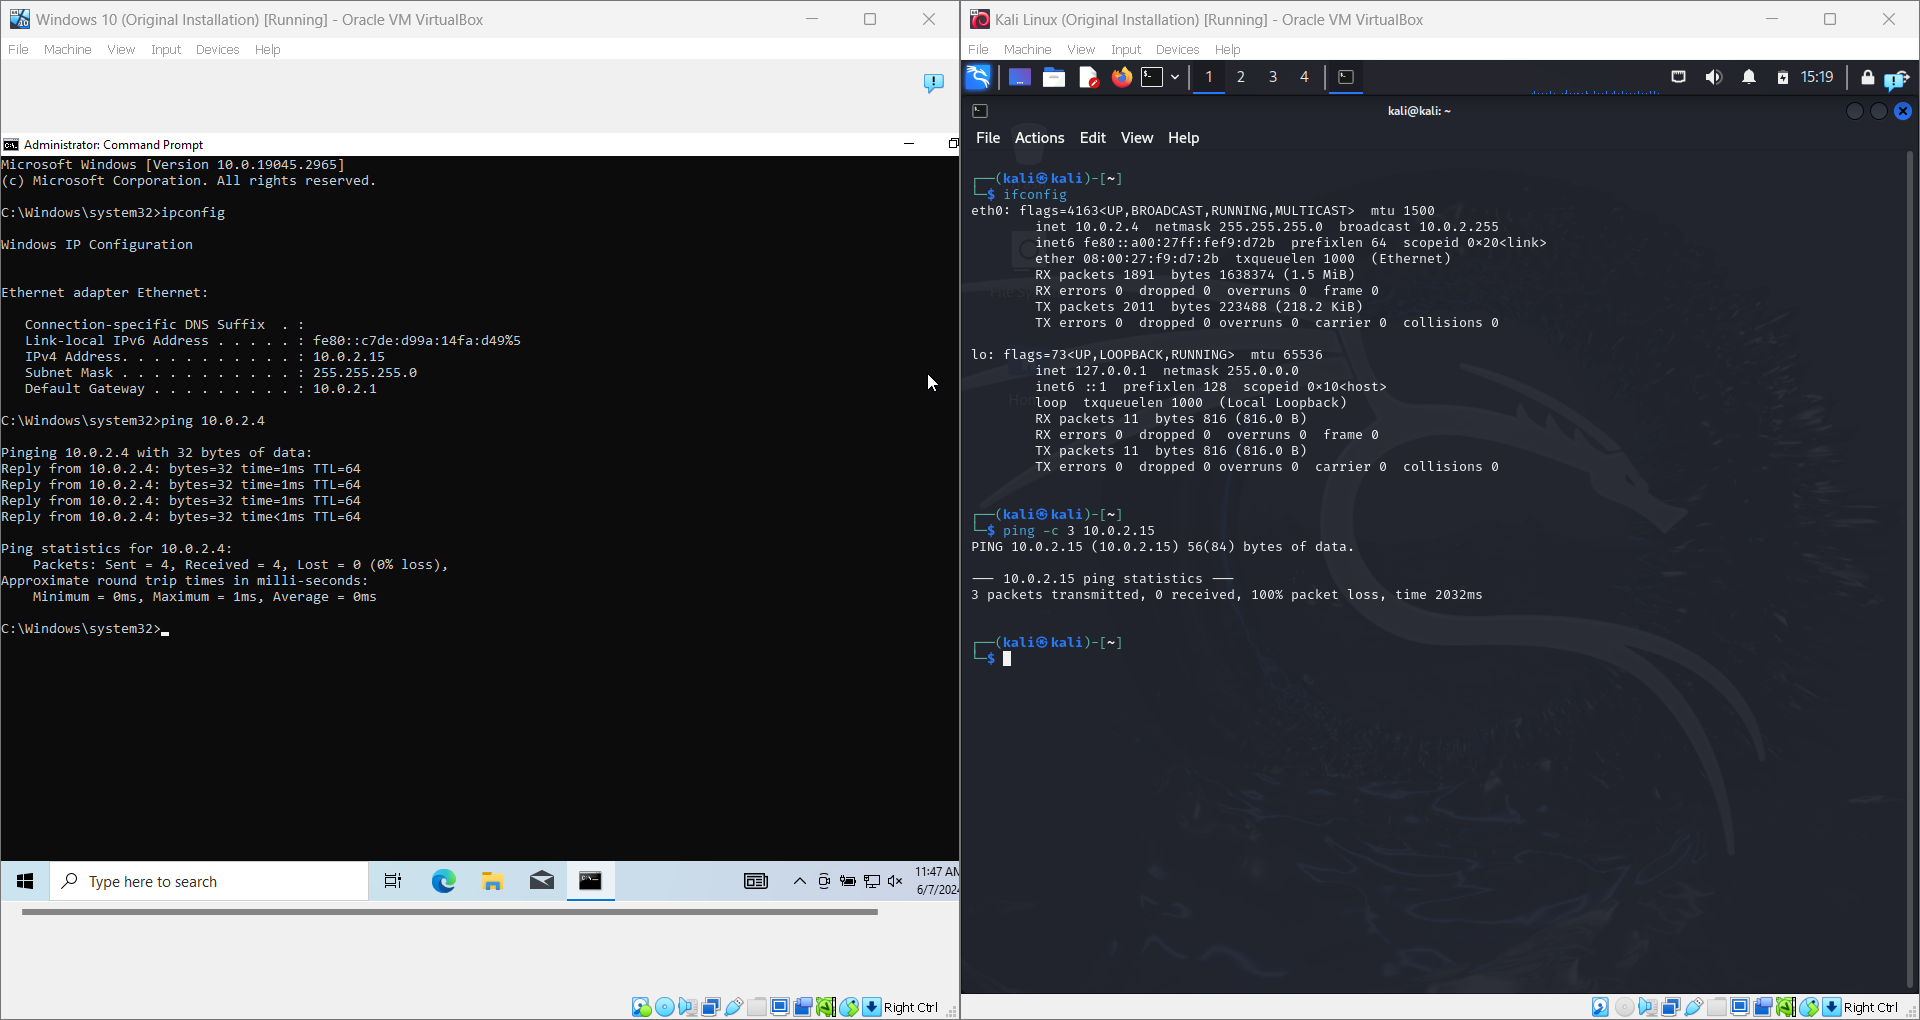
You will see the respective assigned IP Addresses from the range you specified earlier.
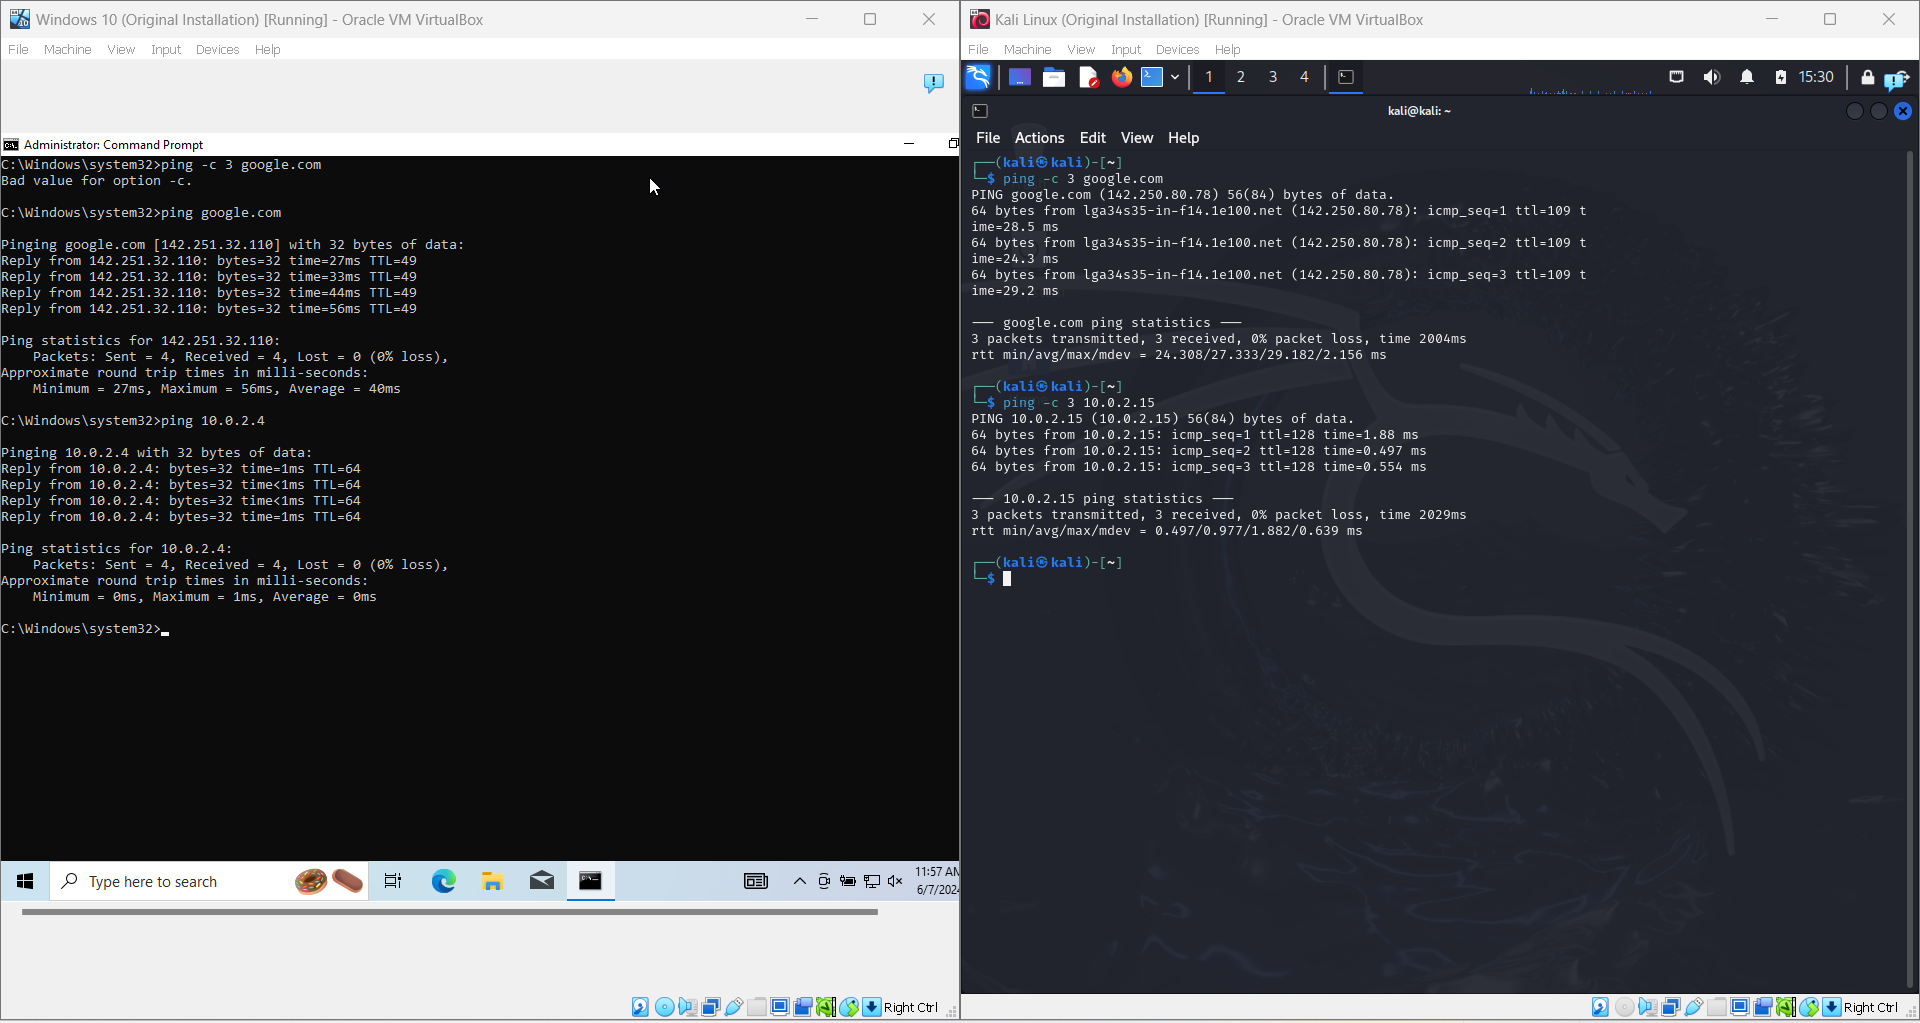
For each machine, ping the IP address of the other machine.
The Ping command for both VMs is:
ping -c 3 (the other machines' IP address)
Uh Oh! Our Linux VM cannot ping our Windows VM, but our Windows VM can ping our Linux VM!
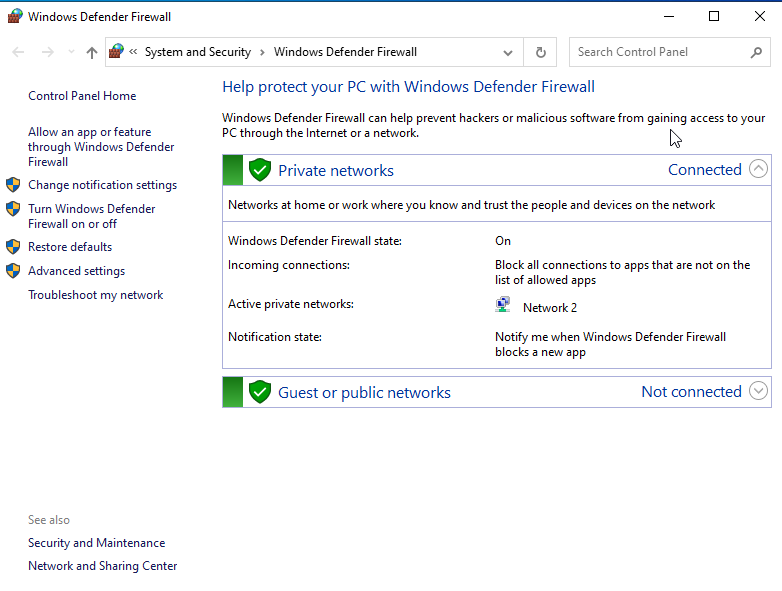
The problem is that Windows Defender Firewall is turned on, and it is considered a very bad idea to turn off Windows Defender Firewall because then your computer will be vulnerable to web-based exploits.
Therefore, we need to create an inbound rule exception in Windows Defender Firewall, to allow Windows to accept ICMP requests from outside connections (like a Linux VM), which handles "proof of life" requests for machines in a network.
You can find the Windows Defender Firewall in the Control Panel:
Control Panel --> System and security --> Windows Firewall --> Advanced settings --> Inbound rules
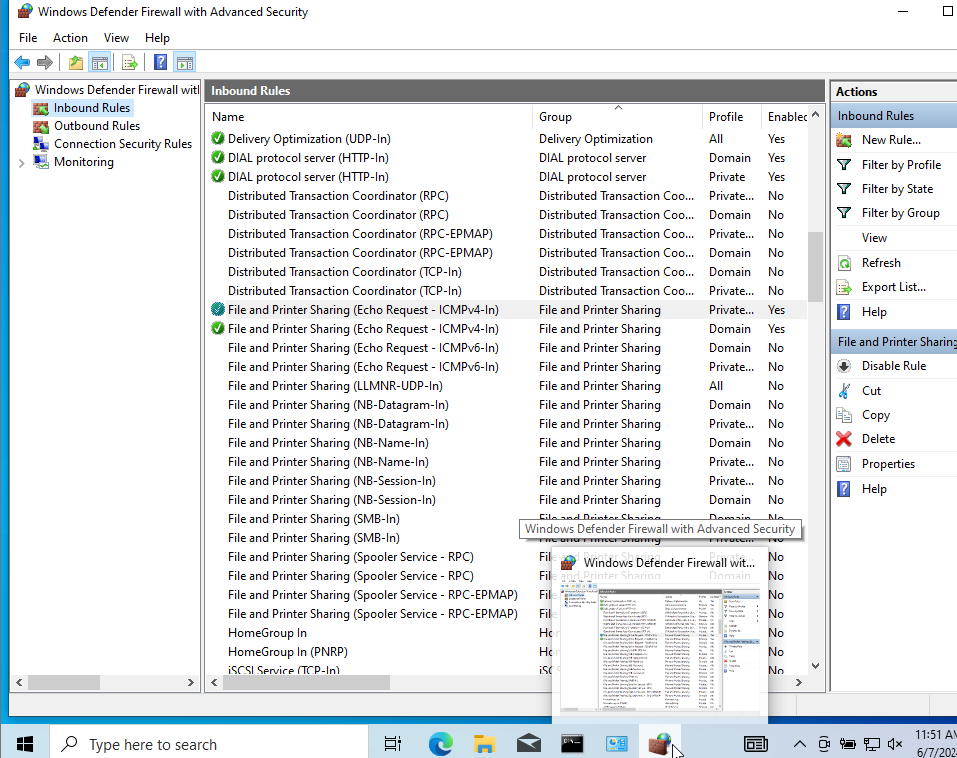
After making the necessary Firewall changes, please restart the Windows VM. Please note that in some labs, we'll need to deactivate the rule we just enabled, but that will be specified in later labs if required.
If you have successfully added the inbound rule for your Windows VM machine, you should be able to see successful ping requests both ways in the respective terminals.
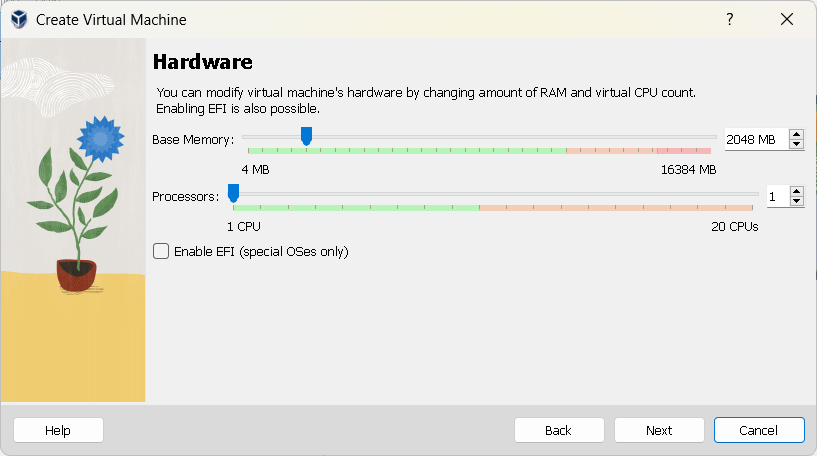
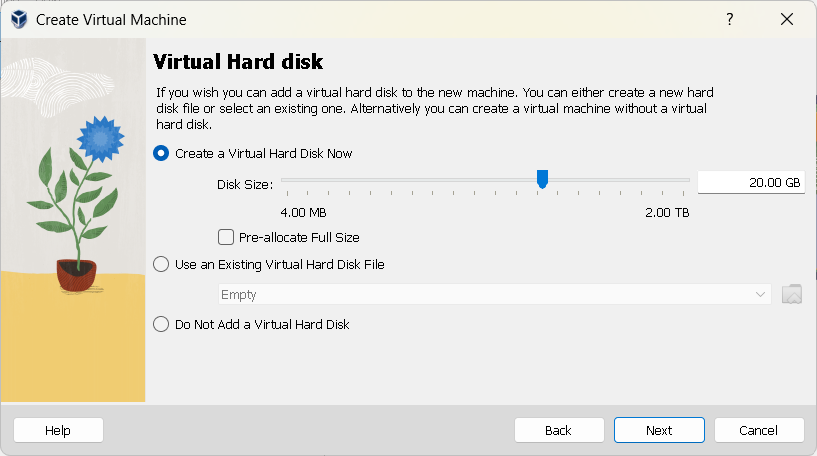
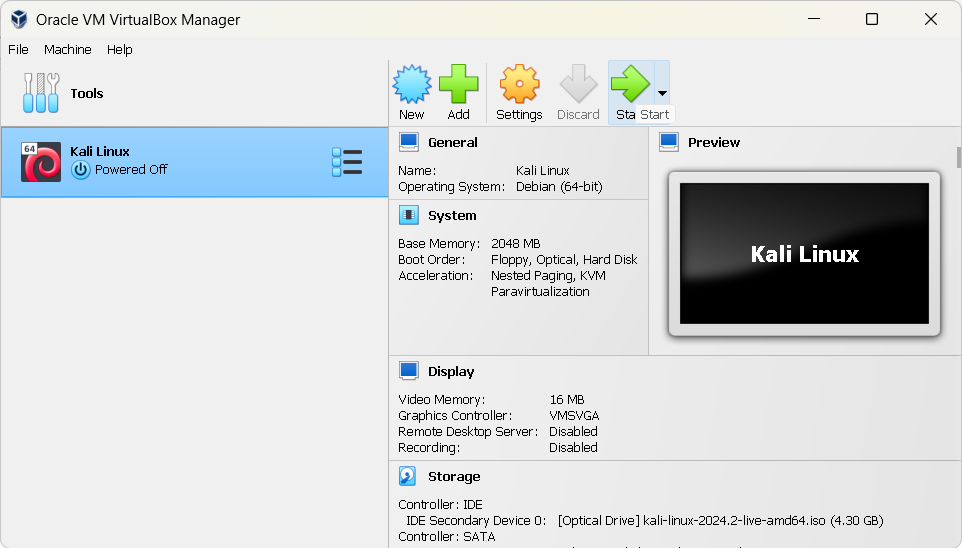
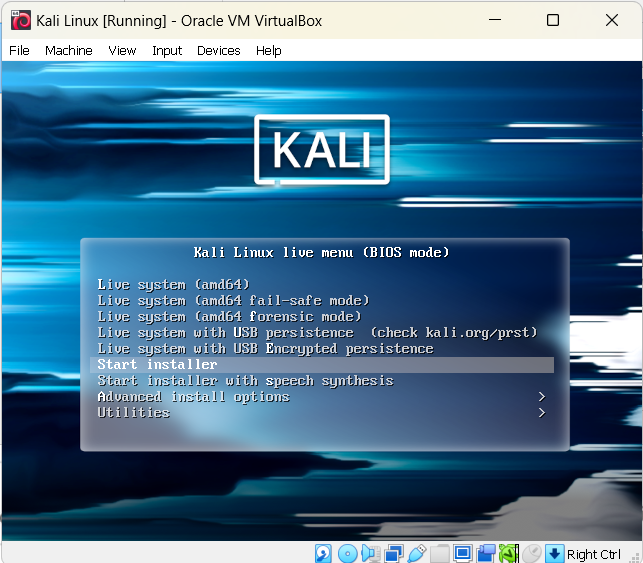
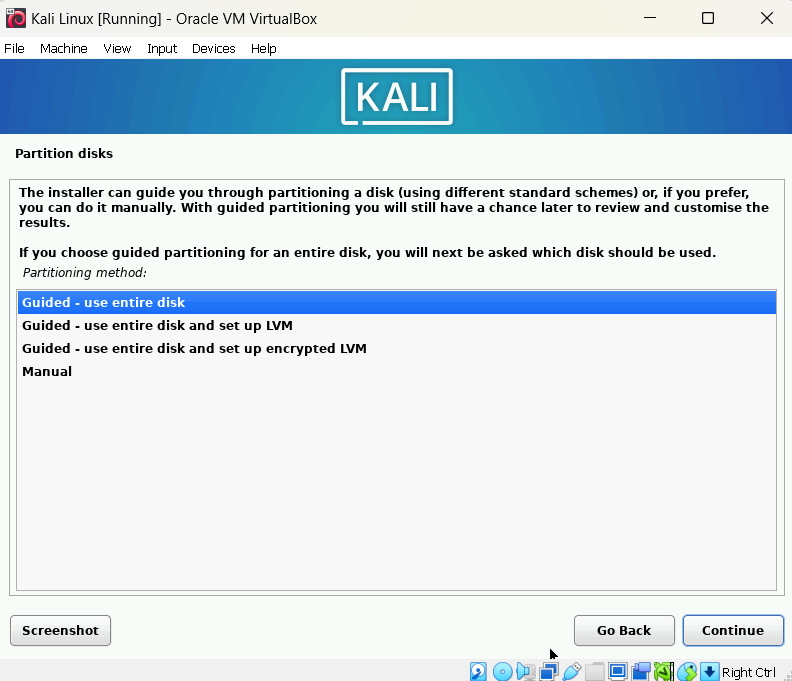
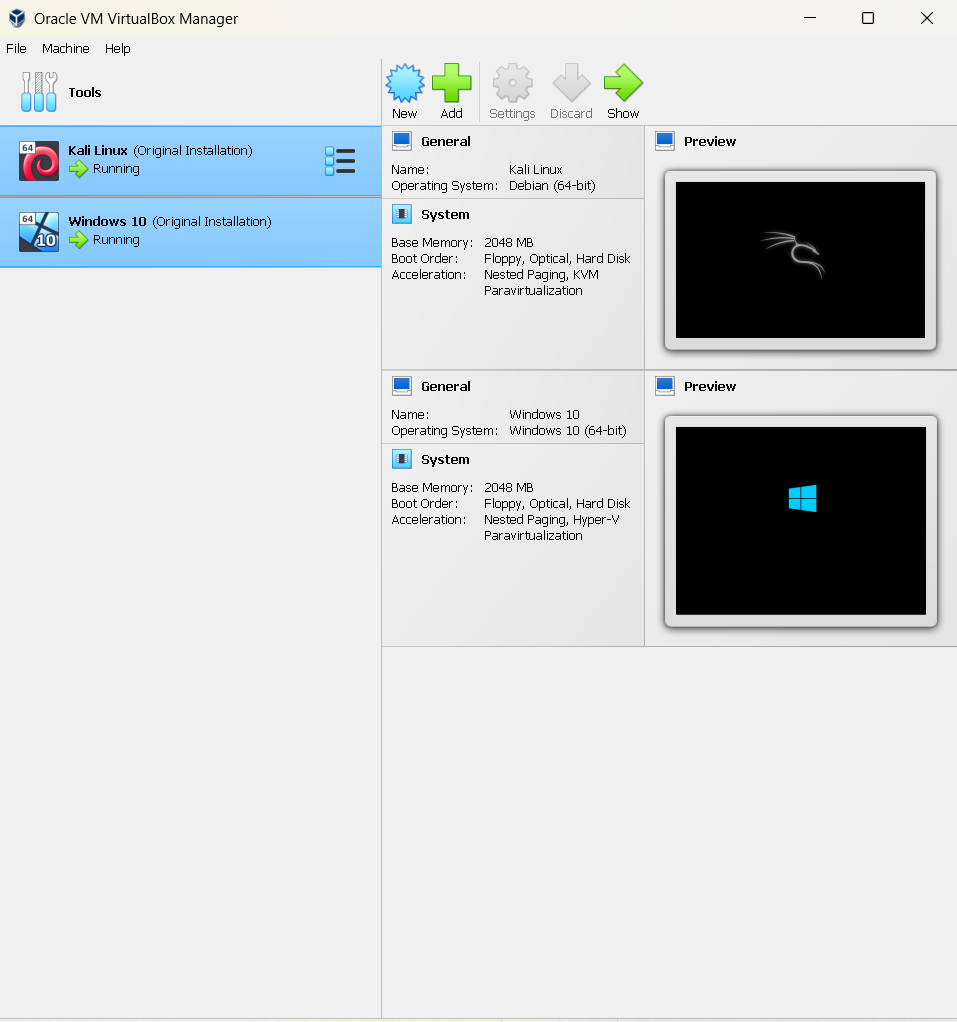
If your installations have gone successfully, you should see both VM files (for Windows and Kali Linux), in your VirtualBox application.
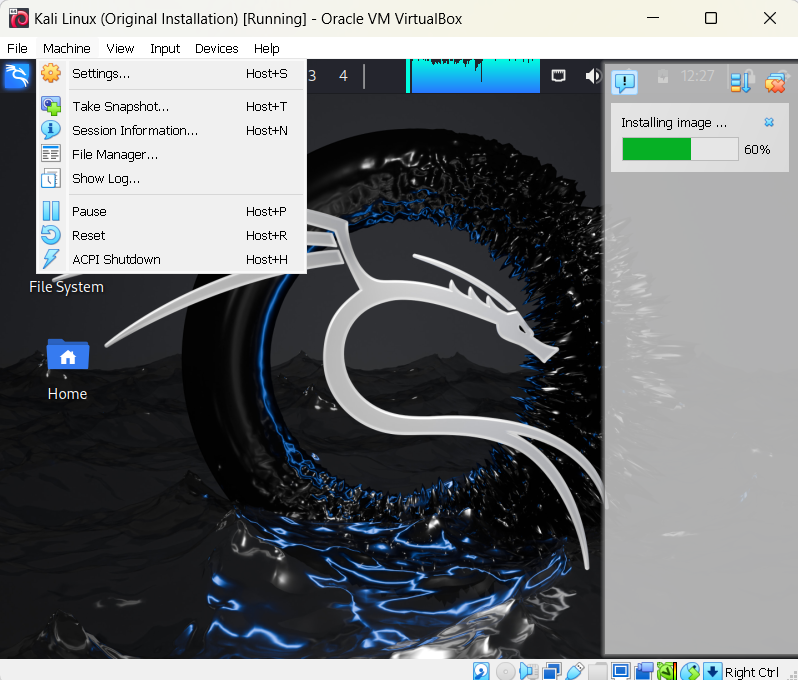
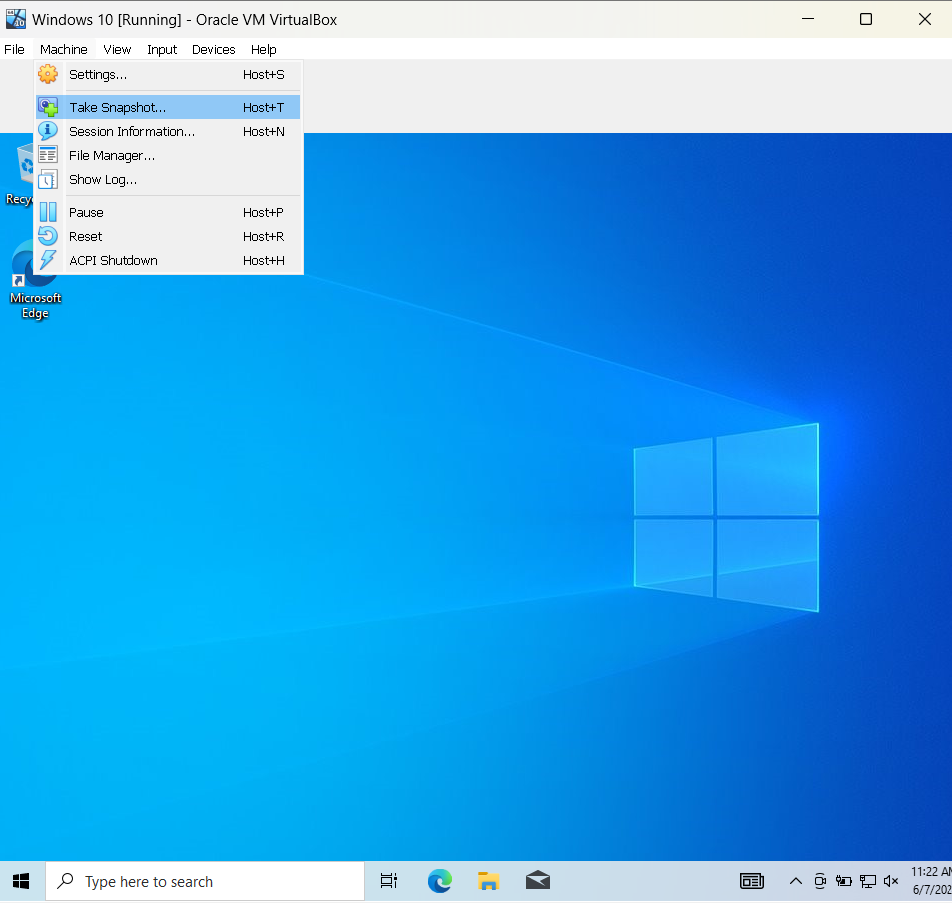
Now that you have successfully altered your VM configurations for both machines, please take a "snapshot" of both VMs, therefore allowing you to "roll back" a change if a misconfiguration breaks your VM.
You can delete the iso files, as they have been 're-created' as Virtual Hard Disks in the VMs and therefore we do not need the installation iso files anymore.
Getting Started with Web Exploitation in Kali Linux
Examples of Web Vulnerabilities exist in the Damn Vulnerable Web Application (DVWA)
DVWA is a PHP/MySQL web application that has been purposefully designed with multiple vulnerabilities.
This lab is particularly valuable because it offers a safe environment to learn about and exploit these vulnerabilities, providing a critical practical aspect to your ethical hacking learning journey.
One of the standout features of DVWA is its broad scope of common web vulnerabilities, including but not limited to SQL Injection, Cross-Site Scripting (XSS), Cross-Site Request Forgery (CSRF), and File Inclusion. DVWA offers a hands-on understanding of these common threats by allowing you to actively exploit these vulnerabilities.
Another advantage of DVWA is its adjustable difficulty levels. This feature makes it an ideal tool for learners. You can begin on a 'low' level, grasp the basics, and gradually increase the difficulty as you become more confident and proficient. This progressive structure reinforces learning.
To install DVWA: "sudo apt install dvwa"
To start DVWA: "dvwa-start"
To stop DVWA: "dvwa-stop"
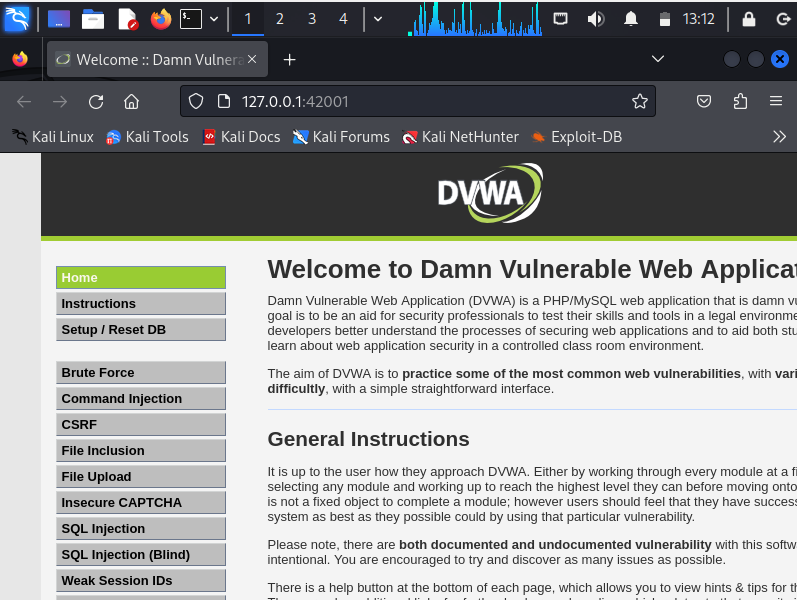
If you start DVWA with "dvwa-start", a Firefox browser will automatically pop-up, displaying the DVWA!
